
Sheet Metal Fabrication Design Engineering Project management Assembly Packaging Rapid Prototyping Shipping & Delivery
CNC Machining Design Engineering Project management Assembly Packaging Rapid Prototyping Shipping & Delivery
Plastic Injection Molding Design Engineering Project management Assembly Packaging Rapid Prototyping Shipping & Delivery
TECHNICAL BUYER’S GUIDE | STARWAY MFG GROUP
By Alyssa / November 13, 2026
Compare prototype and production routes by design maturity, testing needs, materials, volume and total cost.
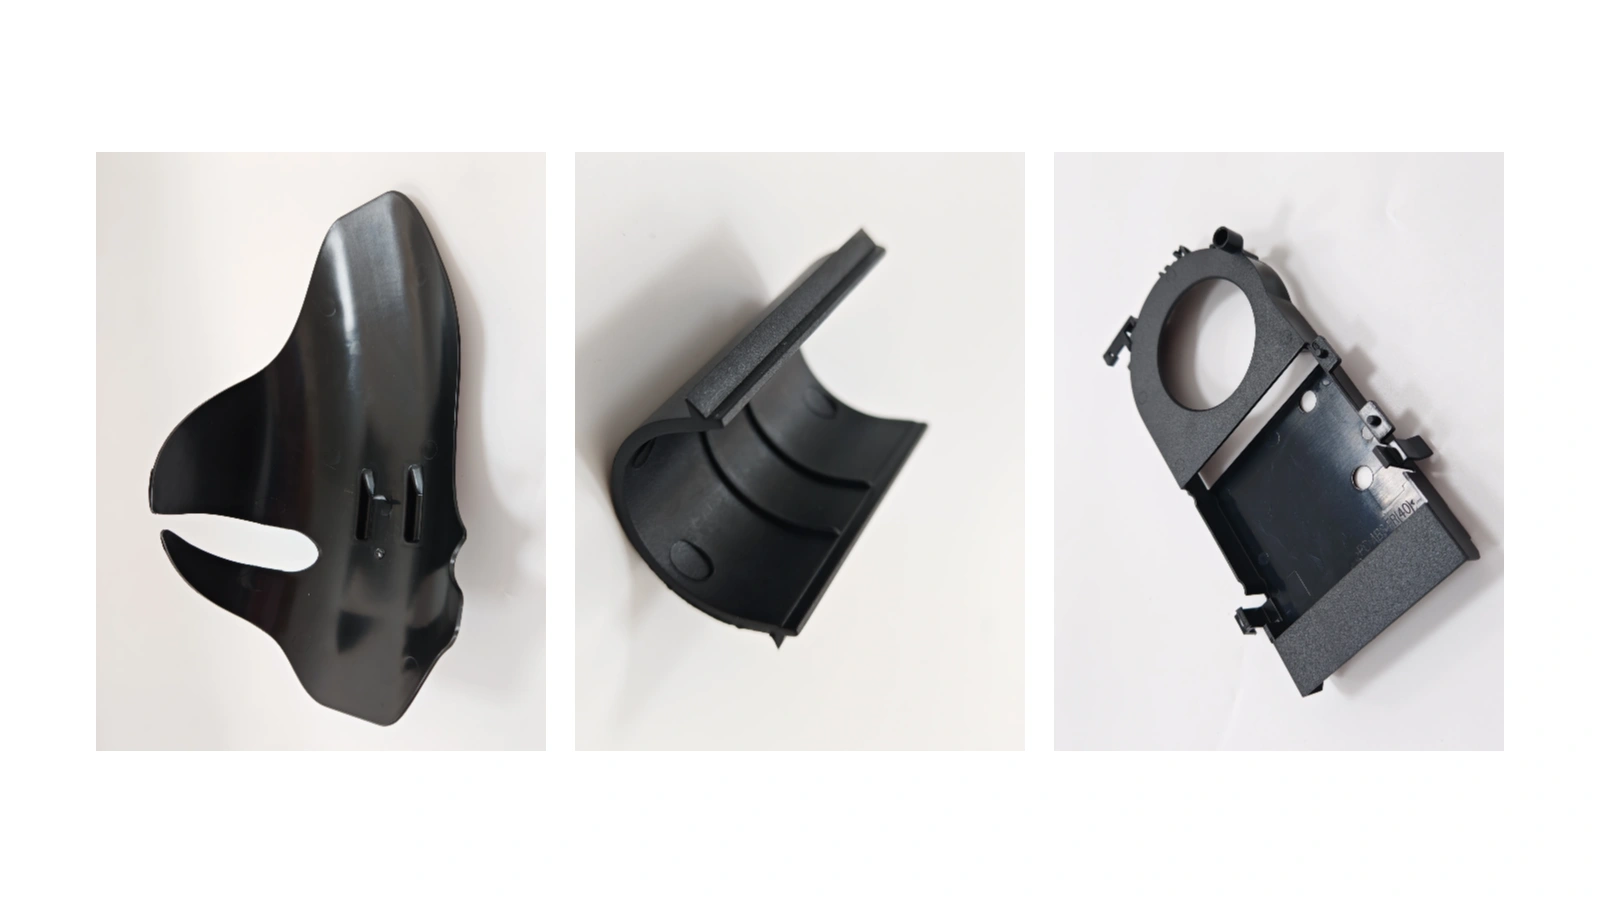
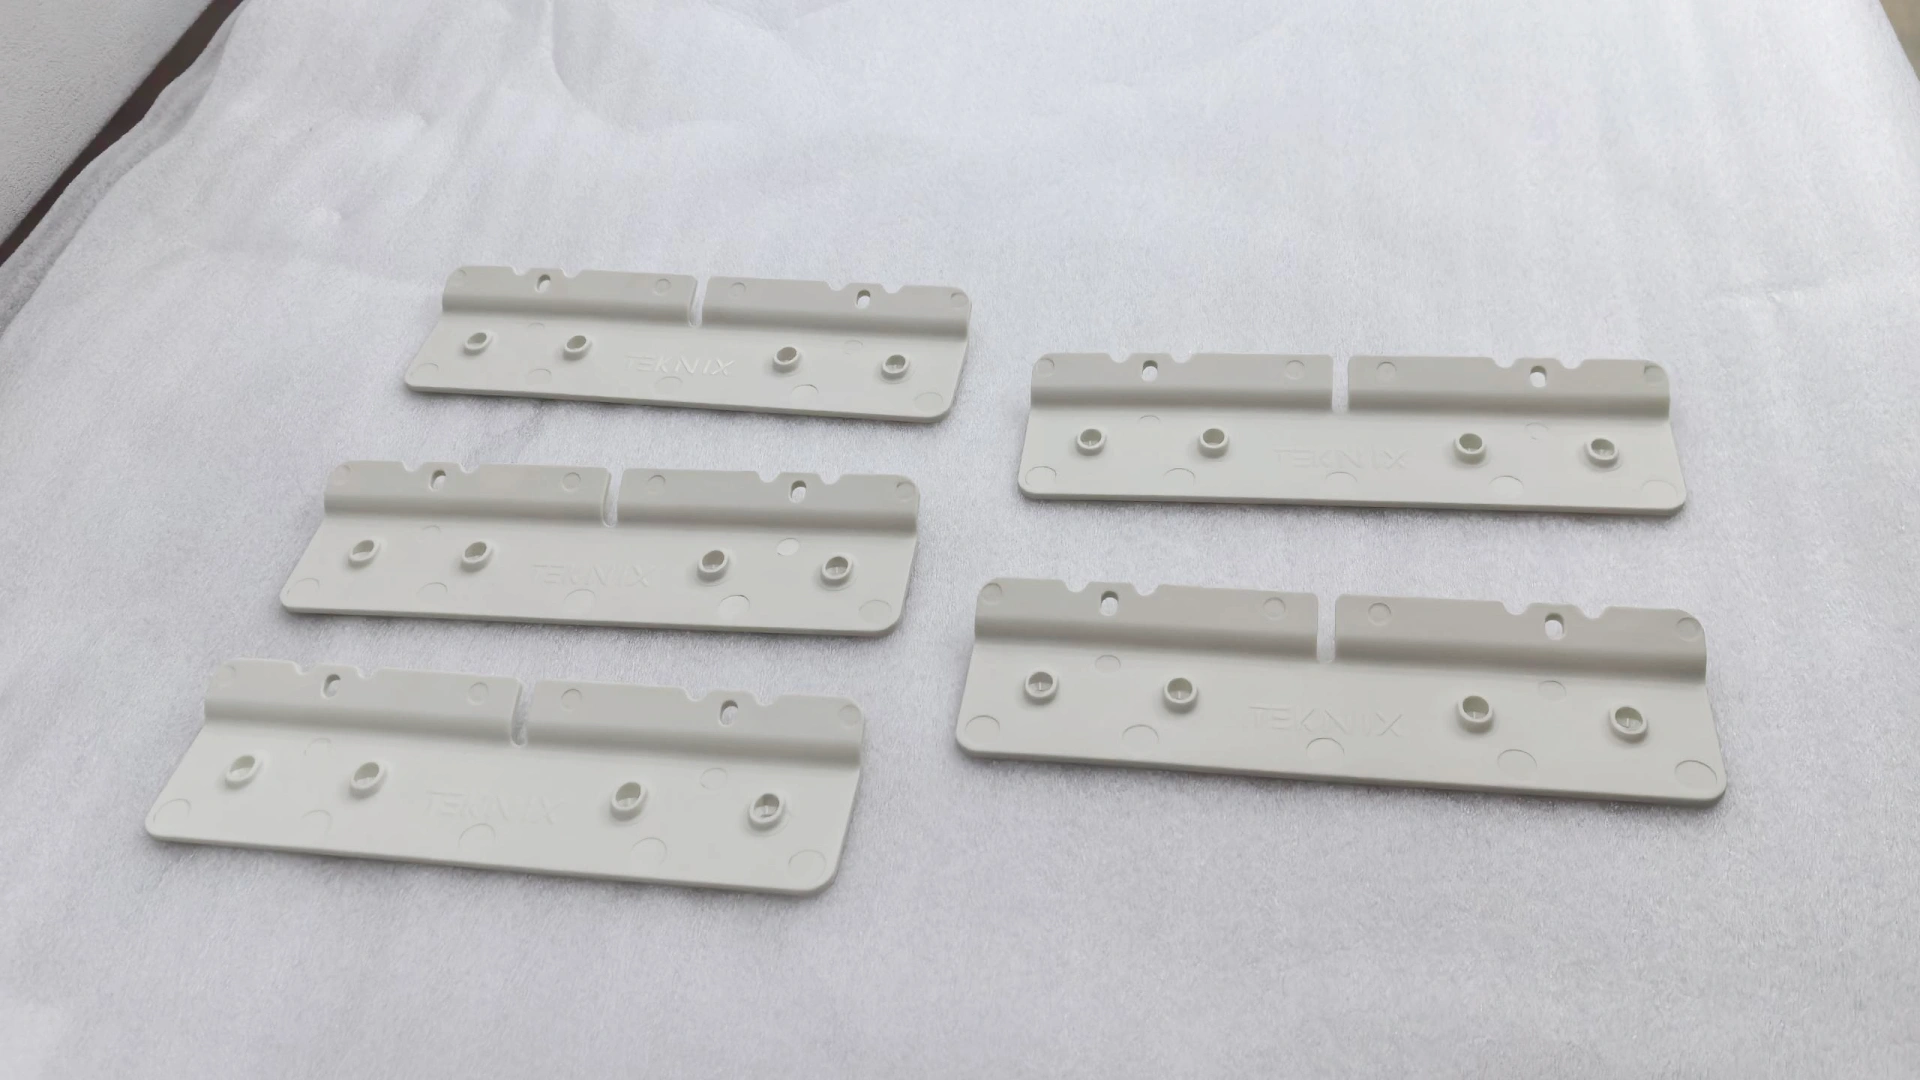
Plastic component examples: select the process around what the next batch needs to prove.
Contents
Say a prototype housing comes off the printer on a Tuesday. It looks right, the clips snap in, and by Wednesday someone on the team is asking for 800 more. Time to cut an injection mold? I’d hold off. That first print proved the shape. It hasn’t proved the production material yet, or how stable the dimensions are, or what it really costs to make several hundred parts that all match.
3D printing vs injection molding comes down, in my experience, to what the next batch has to prove. A print can settle a geometry question in a few days. A molded part tests the production process itself (gate location, shrinkage, cooling, ejection, repeatability), which is a different question altogether, even when the two parts look almost identical on the bench.
So for engineers weighing rapid prototyping routes, I’d start with three things: the drawing, the test plan and the order volume you actually expect. STARWAY MFG GROUP works on OEM projects that go from design review through prototype evaluation into repeat production, and the checks below are the ones we find most useful for deciding where each method fits.
Go with 3D printing while the design is still moving, the quantity is small, or the test is mainly about fit and basic function. Look at injection molding once the design has settled and you need production-grade material behavior, a consistent appearance and repeatable output. In between, a short pilot run is often the more sensible step.
| Project situation | Usually investigate first | Reason |
|---|---|---|
| One to ten design iterations | 3D printing | No mold rework after every geometry change |
| Fit check, ergonomic model, assembly trial | FDM, SLA, SLS/MJF as appropriate | Select print method to match the question being tested |
| Production resin, surface, clips, sealing | Injection-molded samples | Tooling and process affect the final behavior |
| Stable design, recurring hundreds/thousands | Injection molding quote | Tooling can be spread across repeated units |
| Uncertain launch demand | Printing or a short pilot run | Avoid paying for a production tool too early |
FDM (fused deposition modeling) lays molten thermoplastic down in roads, one layer on top of the next. It’s a cheap way to get concept models, shop fixtures and early fit checks. Watch the build orientation, though: a thin snap feature that holds up when loaded one way can split between layers when it’s loaded the other way, and visible layer lines or support marks can throw off how a part fits.
SLA (stereolithography) uses light to cure a liquid photopolymer resin. You get fine detail and smooth-looking surfaces, which is why it’s popular for small housings and appearance reviews. One caution I’d repeat to anyone: a resin sold as “ABS-like” is not molded ABS, and shouldn’t be treated as such without test data. Post-curing, aging, moisture and the operating environment can all change how it behaves.
SLS (selective laser sintering) and MJF (multi jet fusion) usually build nylon parts, and they don’t need support structures the way FDM or SLA do. That makes them handy for functional prototypes and parts with complicated internal geometry. Still, the surface texture, porosity and dimensional behavior aren’t the same as injection-molded nylon, so check the exact grade and print spec before you rely on the results.
In molding, molten polymer is pushed into a mold under pressure, cooled, and then the mold opens and the part is ejected. The mold is what makes every shot repeatable, but it brings its own rules: draft angles, parting lines, gate locations, ejector marks and shrinkage allowances. A deep pocket that prints without any fuss might need a different wall design or tool layout before it will mold reliably.
If the next test has to confirm a production snap-fit, where a weld line will land, a cosmetic surface or assembly with metal inserts, a molded sample will usually tell you more than yet another print. For the full tool-development sequence, see Plastic Injection Molding: The Complete Guide.
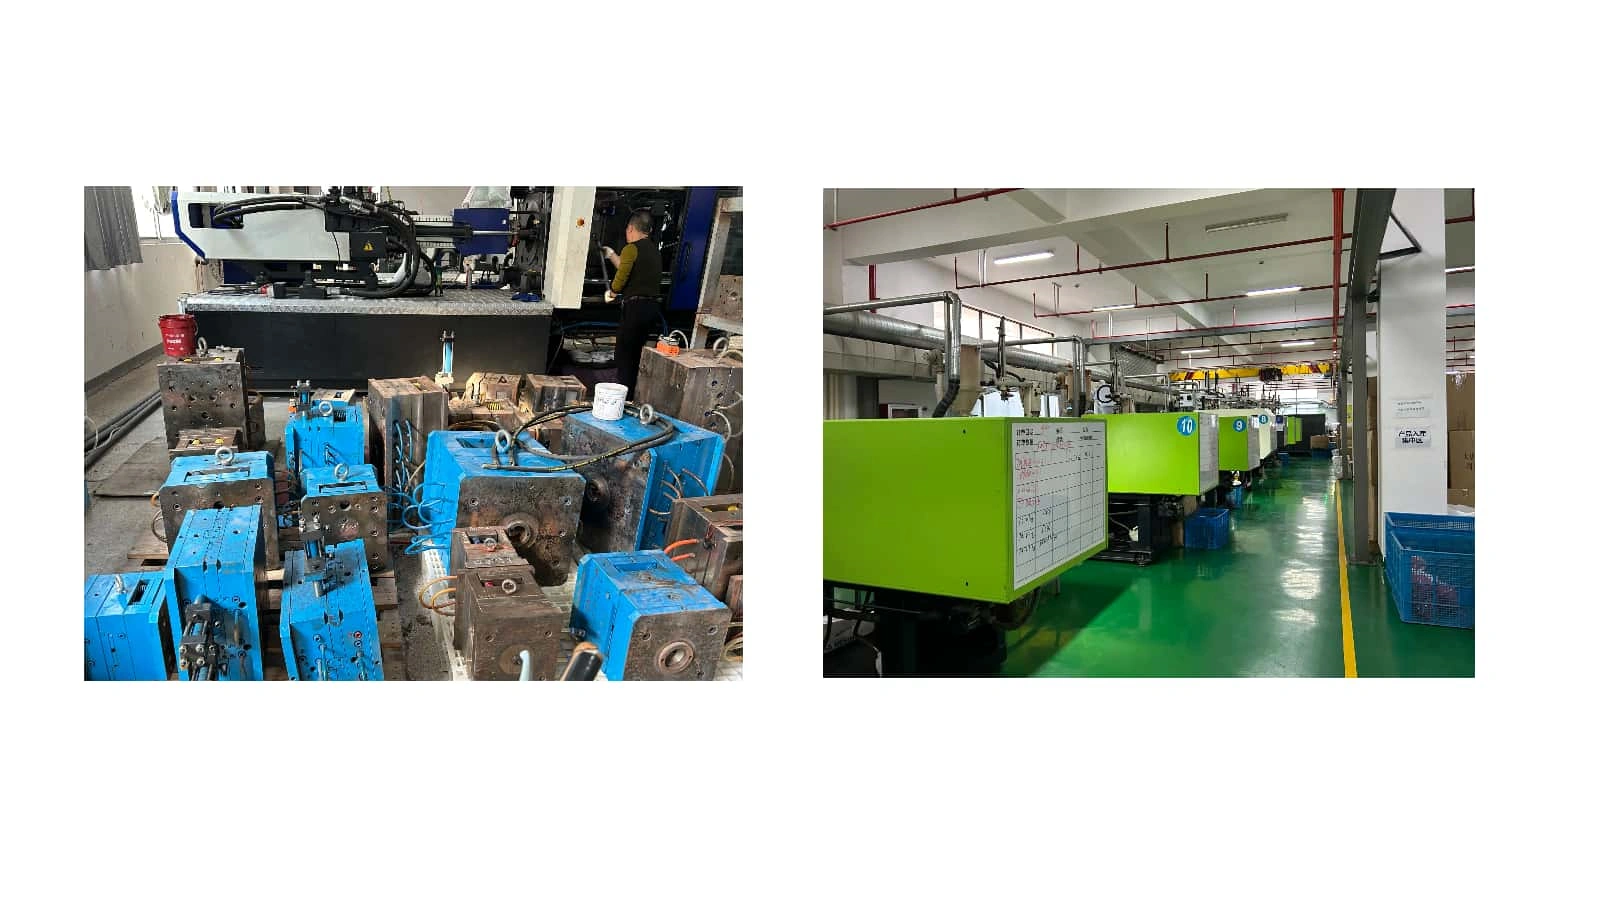
Injection molding equipment and workshop: production repeatability depends on tooling and process control.
Printing tends to have a low setup cost and a fairly high cost per part. Molding flips that around: you pay for tooling before the first approved part exists, but the unit price can drop a long way as quantity goes up. A fair comparison also counts engineering changes, finishing, inspection, shipping and some allowance for scrap, not just what one sample costs.
For a quick screen, use break-even quantity = mold/tooling cost ÷ (printed unit cost − molded unit cost). It only works when the printed part really is the more expensive one per unit and both quotes cover the same deliverable, and it’s a screening number, nothing more. It won’t forecast production for you.
| Illustrative quote input | 3D printing | Injection molding |
|---|---|---|
| One-time tooling | USD 0 | USD 8,000 |
| Per finished part | USD 28.00 | USD 2.50 |
| 300 parts, before other costs | USD 8,400 | USD 8,750 |
| 1,000 parts, before other costs | USD 28,000 | USD 10,500 |
In this hypothetical example the lines cross at roughly 314 units (the figures are illustrative, not a STARWAY quotation). Real quotes can shift that a lot. Heavy sanding or painting pushes the finished cost of a print up; a slide, a texture or another revision pushes the tooling budget up. And if the design changes after the tool is approved, no unit price is low enough to pay back the wrong mold.
Lead time works the same way. One print can be ready quickly, while 500 finished prints may take several build cycles plus a lot of hand finishing. A mold takes longer up front, but once it’s qualified, repeat orders can move faster. When you ask suppliers, get approved-sample lead time and repeat-order lead time as two separate numbers.
The resin name on a quote is only a starting point. A printed part and a molded one can differ in molecular structure, layer bonding, voids and processing history. So compare the properties the application actually needs: impact resistance, stiffness, heat, chemical contact, fatigue, long-term creep.
Take a small electronics enclosure with four snap clips. An SLA print will tell you whether the cover goes together, but probably not how molded PC/ABS clips will hold up after being opened and closed a few hundred times. A nylon SLS print might pass that test, and the molded part can still shrink or warp differently around the ribs and screw bosses. Test the material and process combination you plan to sell.
| Decision factor | 3D printing | Injection molding |
|---|---|---|
| Design changes | Usually inexpensive to revise CAD and reprint | May require tool modification |
| Material equivalence | Process-specific; verify against end-use needs | Production resin and process can be tested directly |
| Complex internal channels | Often a strong option | May require cores, slides, or redesign |
| Cosmetic consistency | May need post-processing | Depends on tool surface and stable process |
| High repeat volume | Build capacity and finishing can constrain output | Often better after tool qualification |
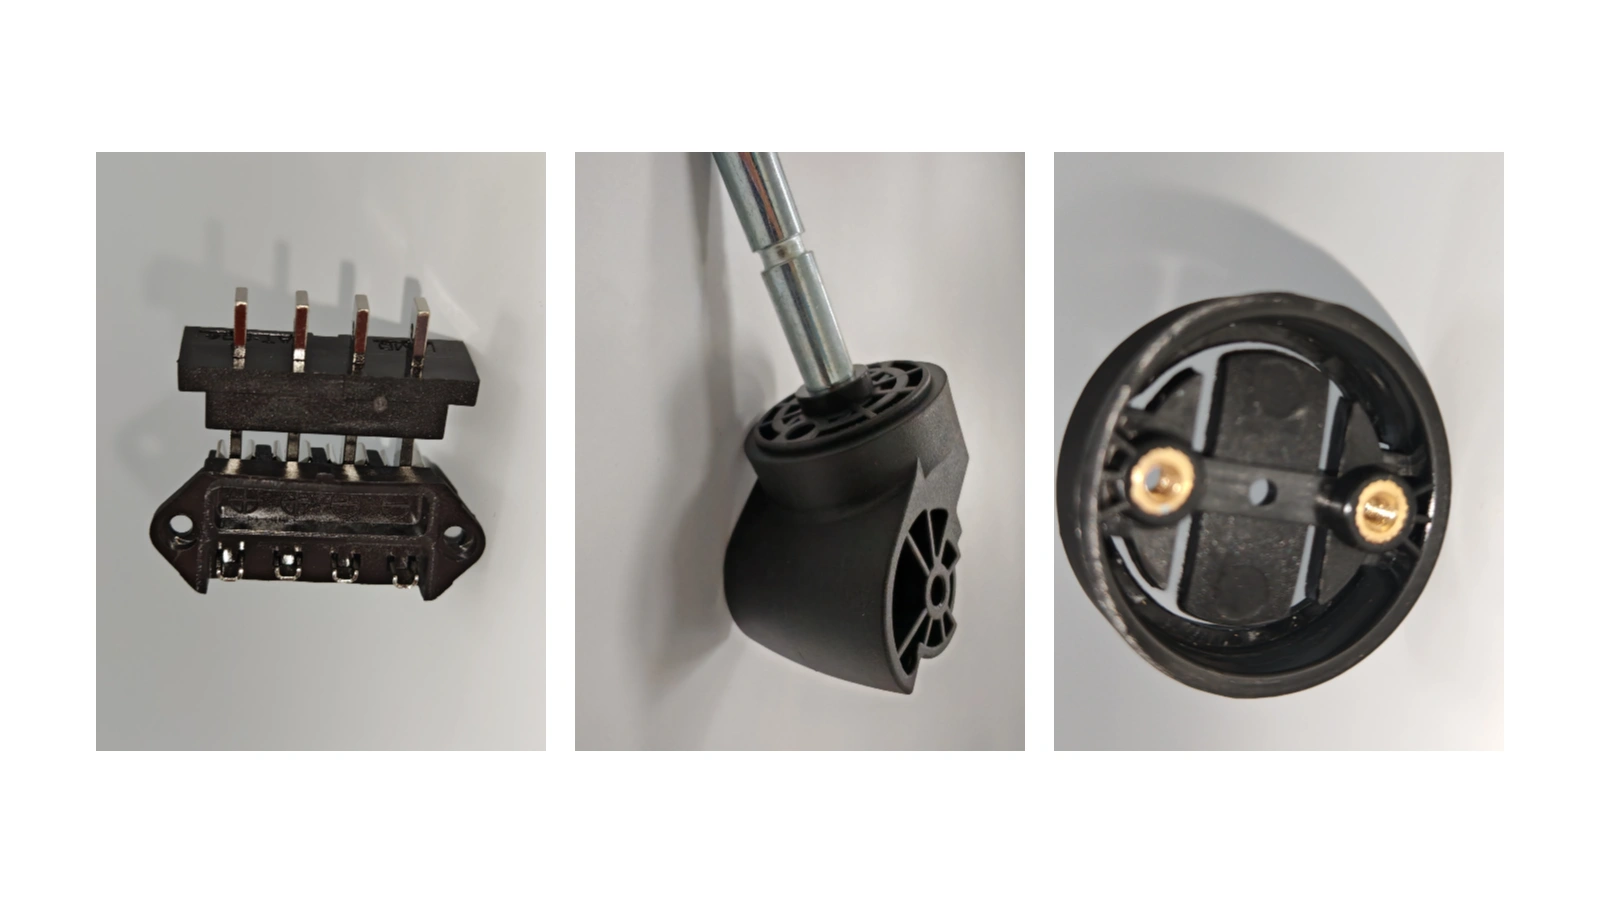
Housing details should be reviewed for assembly, wall sections and production material behavior.
Printing can hide problems that show up the moment a toolmaker looks at the part. A vertical wall with zero draft comes off a print bed just fine and then sticks in a mold. Thick bosses leave sink marks. A sharp inside corner concentrates stress and makes the cavity harder to machine. And a beautifully printed undercut may need a slide, a lifter or a design change once it’s in steel.
Before anyone orders a mold, have the engineer check the points below against the actual resin grade, part geometry and tool concept:
A DFM review worth having comes back with marked-up drawings, not just a “toolable” stamp. STARWAY’s design engineering support can be part of that conversation before you commit to production. If the geometry still isn’t settled, another printed pilot is usually cheaper than reworking steel.
A tight number in a machine brochure isn’t a promise for your part. Print accuracy shifts with calibration, build orientation, material, curing or cooling, and how the part is measured. Molded dimensions depend on resin shrinkage, the condition of the tool, the processing window, the geometry and even how long after molding you measure. Ask for a tolerance review on the features that actually control fit.
A printed bracket might be fine as long as the mounting holes line up. A molded housing with a sealing lip needs a different inspection plan altogether. Pick out the datum surfaces, hole positions, mating gaps, flatness and any functional gauge, and agree on when the parts get measured, especially for materials that move after processing or moisture conditioning.
Surface finish needs its own sign-off. FDM layer lines, SLA support marks, SLS or MJF grain and a molded texture are four different things. For visible products, ask for a physical appearance sample and look at it under agreed lighting. For critical parts, ask for dimensional data; photos won’t tell you enough.
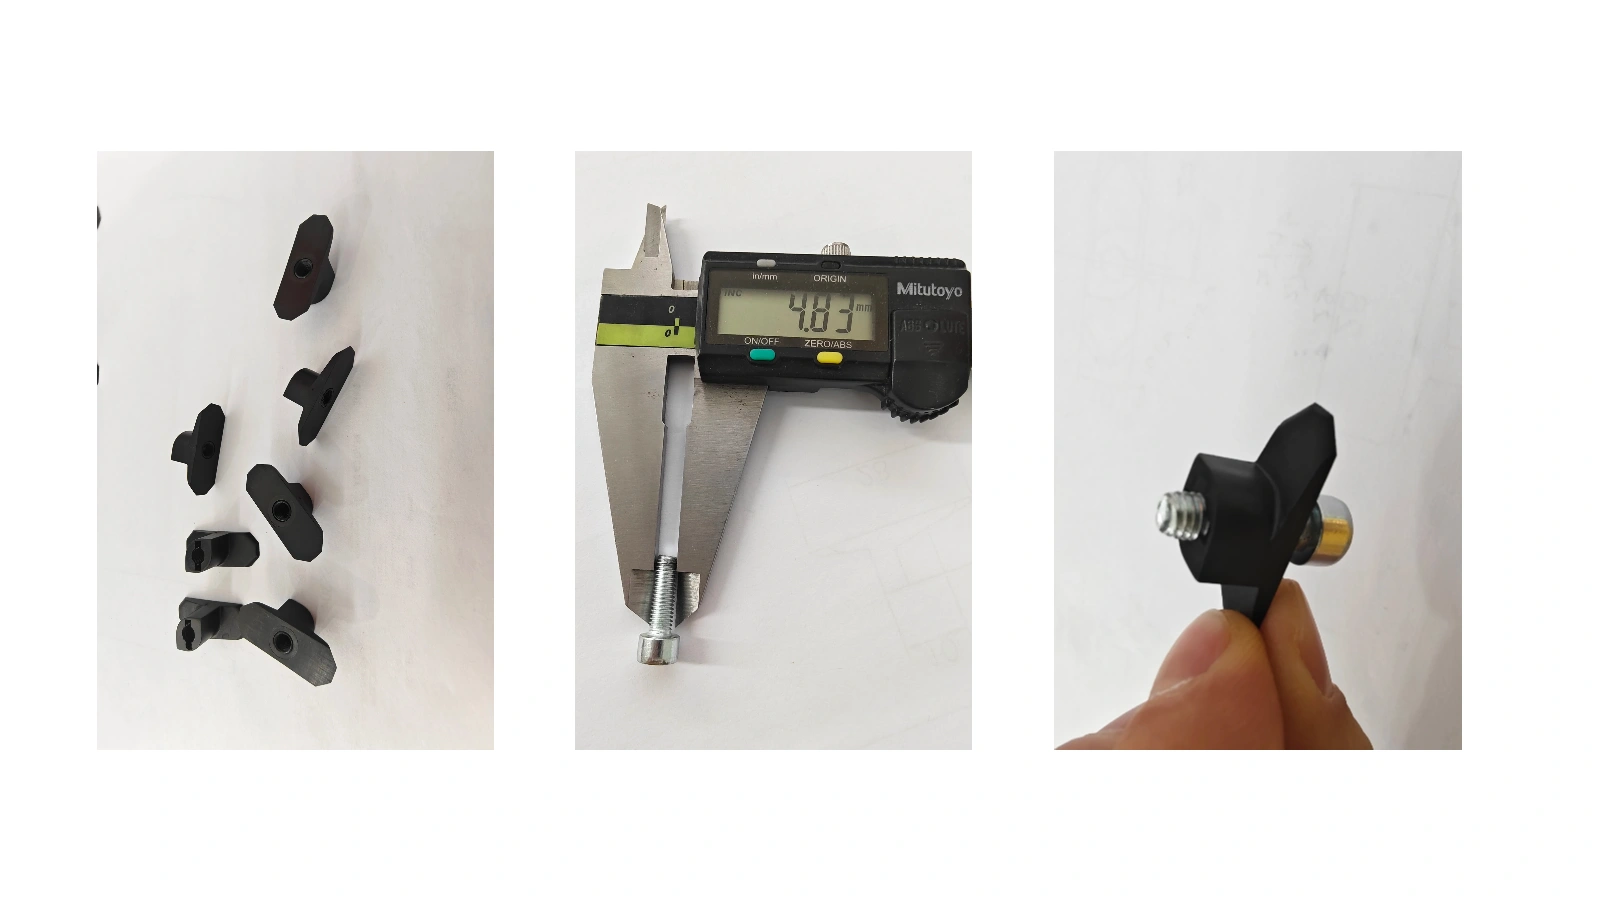
Inspection should focus on dimensions and mating features that control fit and function.
For a lot of OEM programs, the real answer isn’t printing or molding. It’s both, one after the other. Start with a printed model to check space, assembly access and the obvious mistakes, then revise the CAD with molding rules in mind. Once the geometry holds still, look at a production-intent sample, the tool design and the inspection plan you’ll need.
One route that works for many parts is CAD review → printed fit sample → functional testing → molding DFM → tool quotation → T0/T1 trial → sample approval → pilot run → production. The steps vary, of course. A simple enclosure can move through quickly, while a sealed or load-bearing part needs more validation. A good-looking prototype isn’t a green light for a mold unless the risks that matter have actually been tested.
If you’re comparing suppliers, find out who owns each decision: material approval, drawing revisions, mold design, the dimensional report, the cosmetic standard, packaging. STARWAY MFG GROUP can review projects that need several manufacturing processes, including plastic injection molding and 3D printing, with the exact scope and capability confirmed during quotation.
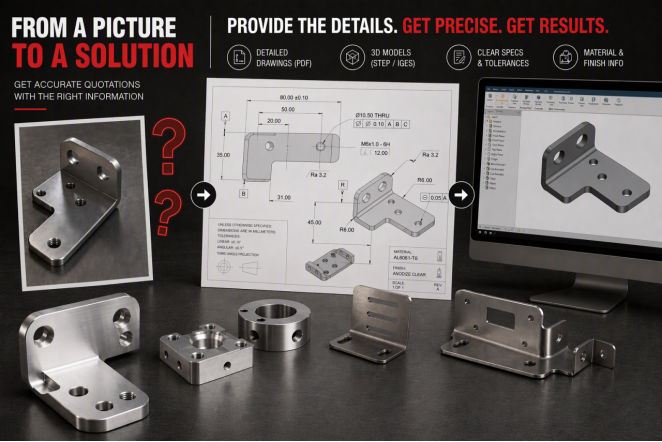
A good RFQ lets the supplier see the manufacturing risk instead of guessing at it. Send the current 3D CAD model and 2D drawing, rough quantities for each stage, the material or performance criteria, what the part should look like and which tests the prototype has to pass. Say whether the design is frozen, and if it isn’t, which features may still change.
Ask for prices and timelines broken out for prototype samples, tooling, molded samples and repeat production, so a quick prototype quote doesn’t get mistaken for a production plan. For a project review, send your drawings to STARWAY.
If the product is still changing, print the next version and learn from it. If the geometry is stable but the production resin, the finish or the snap-fit behavior matters, test molded samples before you approve the launch. And if the business case is still uncertain, work out the full cost of each route instead of going by unit price. The right prototype answers the next engineering question without locking the project in too early.
Planning a prototype or production plastic part?
Send us the drawing, material requirements, expected volume and what you need to test.
For very small quantities or designs that keep changing, usually yes. For a stable design with recurring volume, injection molding often ends up cheaper per part once the tooling is paid off. Compare finished-part costs, and factor in the risk of design changes.
For the first physical sample, printing usually wins. Once a mold is qualified, it tends to win on repeat output. Compare the lead time to approved parts rather than machine cycle time alone.
Sometimes, for geometry checks and some short-term tests. SLA photopolymers aren’t automatically equivalent to molded engineering thermoplastics, particularly for impact, heat, UV exposure or repeated flexing.
FDM builds the part layer by layer from extruded thermoplastic, while injection molding fills a tool cavity with molten polymer. That difference affects anisotropy, surface finish, consistency and the design rules you have to follow.
It can be, especially for complex nylon parts where demand doesn’t justify tooling. Check finish, dimensional requirements, material behavior and production capacity before you treat printed parts as production-equivalent.
Once the geometry and performance requirements are stable enough, and the expected volume and total cost support tooling. If demand is still uncertain, a pilot run first is worth considering.
Sometimes a similar polymer family is available, but a matching name doesn’t mean matching properties. Check the grade, the process, the data sheet and the test conditions.
Molds need draft, controlled wall sections, room for gates and ejectors, and undercuts that can be managed. Printing will happily produce shapes that would be expensive or awkward to tool.
Neither one has a single universal tolerance. Geometry, material, equipment, build orientation or tooling, and inspection conditions all decide what’s achievable, so name your critical features and ask for a process-specific review.
CAD files and drawings, material and performance needs, expected volume, the tests you plan to run, cosmetic requirements, critical dimensions, how mature the design is and the delivery date you need.

This website uses cookies to provide you with a personalized browsing experience and analyze website traffic. By clicking "Accept", you agree to our use of cookies.



 Global